Introduction
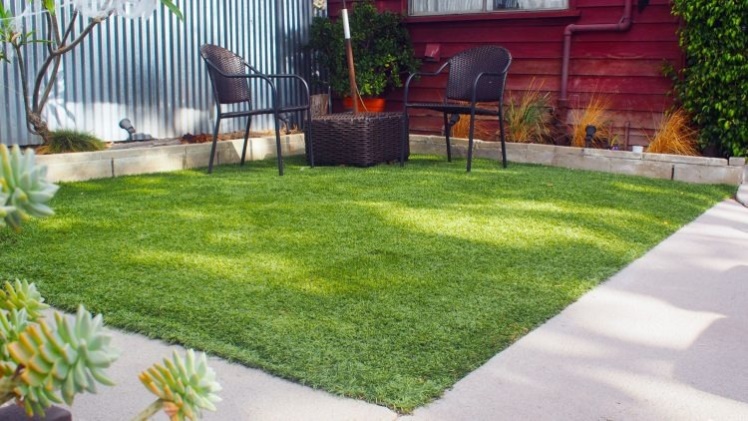
Concrete surfaces, whether in your backyard, balcony, or rooftop, can sometimes lack the warmth and aesthetic appeal that natural greenery brings. However, there’s a solution that not only adds a touch of nature but also requires minimal maintenance – artificial grass. Installing artificial grass on concrete is a fantastic way to revitalize your outdoor spaces, creating a lush and inviting environment. In this comprehensive guide, we’ll walk you through the step-by-step process of transforming your concrete area into a vibrant green oasis.
Materials Needed
Before diving into the installation process, gather the following materials:
- Artificial grass
- Utility knife
- Weed barrier fabric
- Adhesive or seaming tape
- Turf staples or nails
- Sub-base material (crushed stone or decomposed granite)
- Leveling tools (rake, shovel, hand tamper)
- Broom or power brush
- Protective gloves
- Measuring tape
Step 1: Assess the Concrete Surface
Begin by thoroughly examining the concrete surface. Check for any cracks, bumps, or imperfections that may affect the installation process. If there are significant cracks, consider repairing them before proceeding.
Step 2: Clean the Concrete Surface
Clean the concrete surface by removing any debris, dust, or loose particles. A power washer or a stiff brush can be used to ensure a clean and smooth foundation for the artificial grass.
Step 3: Apply Weed Barrier Fabric
To prevent weed growth and ensure proper drainage, lay down a weed barrier fabric over the cleaned concrete surface. Trim the fabric to fit the area, overlapping seams by a few inches. Secure the fabric in place using adhesive or tape.
Step 4: Create a Sub-base
For proper drainage and stability, create a sub-base layer by spreading crushed stone or decomposed granite over the weed barrier fabric. Use a rake to level the material, and a hand tamper to compact it. Aim for a sub-base thickness of 2-4 inches, depending on the application.
Step 5: Measure and Cut the Artificial Grass
Roll out the artificial grass over the prepared sub-base. Allow the grass to acclimate to the surroundings for a few hours, as this helps it settle and eliminate wrinkles. Measure the area, leaving a slight overhang on the edges. Use a utility knife to cut the artificial grass to fit the dimensions of the space.
Step 6: Join Seams
If your installation area requires multiple pieces of artificial grass, use adhesive or seaming tape to join the seams securely. Ensure that the grass fibers align seamlessly for a natural look.
Step 7: Secure the Artificial Grass
Use turf staples or nails to secure the edges of the artificial grass every 6–8 inches along the perimeter. This prevents the grass from shifting or lifting over time.
Step 8: Trim Excess Material
Trim any excess artificial grass along the edges using a utility knife. Take care to create clean and precise cuts for a polished finish.
Step 9: Brush and Fluff
Use a broom or power brush to fluff up the artificial grass fibers. This step enhances the appearance and ensures a more natural look by standing the fibers upright.
Conclusion
Congratulations! You’ve successfully transformed your concrete space into a vibrant and low-maintenance green area. Artificial grass not only provides an aesthetically pleasing look but also eliminates the need for regular mowing, watering, and weeding. Enjoy your new outdoor oasis, and revel in the beauty of nature brought to your doorstep. You can hire the best Artificial Turf Installation experts from “Sprinklers and Turf” today!

