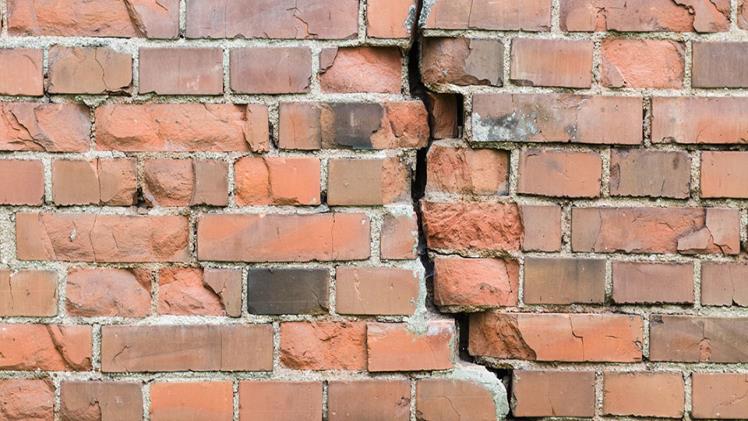
Damaged bricks can be an eyesore and compromise the structural integrity of a building. Whether due to weathering, impact, or other factors, replacing damaged bricks is a necessary maintenance task to ensure the longevity and aesthetics of your property. While it may seem daunting, with the right techniques and a bit of patience, you can effectively replace damaged bricks. In this article, we will guide you through the process, providing step-by-step instructions and tips to help you accomplish this task successfully. By following these guidelines, you can restore the beauty and functionality of your brickwork.
Assessing the Damage and Gathering Materials
The first step in replacing damaged bricks is to assess the extent of the damage. Identify the bricks that need to be replaced, considering factors such as cracks, spalling, or loose mortar. Once you have a clear understanding of the damage, gather the necessary materials. These typically include new bricks that match the existing ones, a bolster chisel, a club hammer, safety goggles, gloves, a trowel, mortar mix, and a pointing tool.
Removing the Damaged Bricks
To remove the damaged bricks, start by protecting yourself with safety goggles and gloves. Use a bolster chisel and a club hammer to carefully chip away at the mortar surrounding the damaged brick. Work from the top down and be cautious not to damage adjacent bricks. Once you’ve removed the mortar, gently tap the damaged brick from the back with the club hammer until it loosens and can be removed.
Preparing the Area and Installing the New Brick
With the damaged brick removed, clean the area to ensure a proper bond between the new brick and the existing structure. Use a wire brush to remove any loose debris and old mortar from the cavity. Wet the cavity with water before applying mortar to prevent the new brick from absorbing moisture from the fresh mortar. Apply a layer of mortar to the cavity using a trowel and carefully position the new brick into place, making sure it aligns with the surrounding bricks. Use a spirit level to ensure it is straight and level.
Replacing Mortar and Finishing
Once the new brick is in place, replace the mortar to secure it. Apply mortar to the vertical and horizontal joints using a pointing tool or a small trowel. Pack the mortar firmly and make sure it fills the gaps completely. Use the pointing tool to create a neat finish and match the style of the existing mortar joints.
Allow the mortar to set for a while before cleaning off any excess. Use a soft brush to sweep away any loose mortar or dust. Avoid brushing the fresh mortar joints too aggressively, as this can damage the finish. Allow the mortar to cure for a few days, keeping it damp with a fine mist of water to prevent cracking.
Seeking Professional Assistance
While replacing damaged bricks can be a satisfying DIY project, certain situations may require the expertise of professionals. For complex repairs or extensive brickwork restoration, it’s recommended to seek the assistance of brick repointing Sydney. These professionals have the knowledge, experience, and specialized tools to handle intricate repairs and ensure a seamless integration of new bricks with the existing structure. They can also provide valuable guidance on matching the color and texture of the mortar to maintain the aesthetic integrity of your brickwork.
In conclusion, effectively replacing damaged bricks requires careful assessment, proper tools, and attention to detail. By following the step-by-step instructions provided and taking necessary safety precautions, you can successfully restore your brickwork. However, for more complex repairs or extensive restoration, it’s best to consult with professionals, such as brick repointing specialists in Sydney, who can ensure the highest quality workmanship and preserve the integrity of your brick structure.

